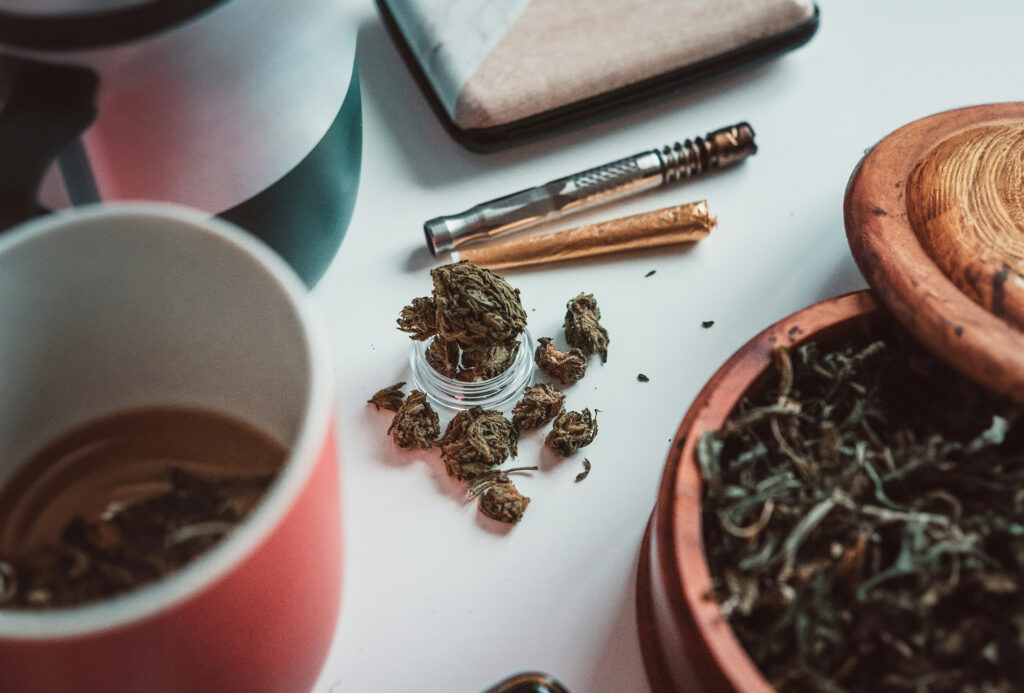
A vaporizer is a fantastic way to enjoy your favorite herbs or concentrates, but like any other device, it requires maintenance to function optimally. For this, a comprehensive vaporizer cleaning guide is essential. A clean vaporizer not only provides better flavor and vapor quality but also extends the lifespan of your device. In this blog, we’ll walk you through the cleaning process step by step, so your vaporizer stays in top condition.

Why is it important to clean your vaporizer?
Every time you use your vaporizer, small amounts of residue and resin are left behind. These can build up and eventually block airflow, affect the taste of your herbs or concentrates, and even reduce your vaporizer’s performance. Regular cleaning prevents these issues and ensures your vaporizer always performs at its best.
Step-by-Step Guide to Cleaning Your Vaporizer
Follow the steps below to thoroughly and efficiently clean your vaporizer.
1. Completely disassemble your vaporizer
Start by taking apart your vaporizer. Remove all detachable parts, such as the mouthpiece, oven, screens, and any air paths. This makes it easier to clean each part thoroughly.
2. Remove coarse debris
Use a scraper or brush to remove all visible residue and dirt from both the detachable parts and the vaporizer itself. This is a crucial step to ensure the cleaning solution can do its job later.
3. Soak the parts in a cleaning solution
Place all detachable parts in a container and fill it with a cleaning solution designed specifically for vaporizers. Follow the instructions on the bottle carefully. Some cleaning solutions need to be mixed with hot water, while others can be used directly.
4. Let the parts soak
Allow the parts to soak in the cleaning solution for at least 30 minutes. Stir the container occasionally to help loosen any stubborn dirt. After 30 minutes, most of the dirt should come off. If not, move on to the next step.
5. Remove stubborn dirt
If any dirt remains after soaking, use pipe cleaners or brushes to gently remove it. Be careful not to damage any parts while doing this.
6. Rinse thoroughly
Rinse all parts thoroughly under warm running water to remove any remaining cleaning solution. This is an important step to ensure no residue is left behind that could affect the taste or performance of your vaporizer.
7. Dry the parts thoroughly
Allow all parts to dry completely before reassembling them. Moist parts can affect your vaporizer’s performance and potentially damage the electronic components.
8. Clean the inside of the vaporizer
Use pipe cleaners, alcohol wipes, and cotton swabs to clean the inside and outside of the vaporizer itself. Be extra careful to ensure that no moisture or alcohol gets into the electronic components.
Tools for Cleaning Your Vaporizer
If you didn’t receive cleaning tools with your vaporizer or if they need replacing, consider purchasing the following items:
- Alcohol wipes: Ideal for sanitizing and removing stubborn dirt.
- Scrapers and brushes: Handy for removing coarse debris.
- Pipe cleaners: Perfect for cleaning narrow air paths.
- Vaporizer cleaning solution: Ensures thorough cleaning without damaging the device.
Conclusion
A well-maintained vaporizer offers the best experience and lasts longer. By regularly cleaning your vaporizer according to this guide, you’ll enjoy pure, flavorful vapor every time. Make cleaning a routine, and your vaporizer will thank you!